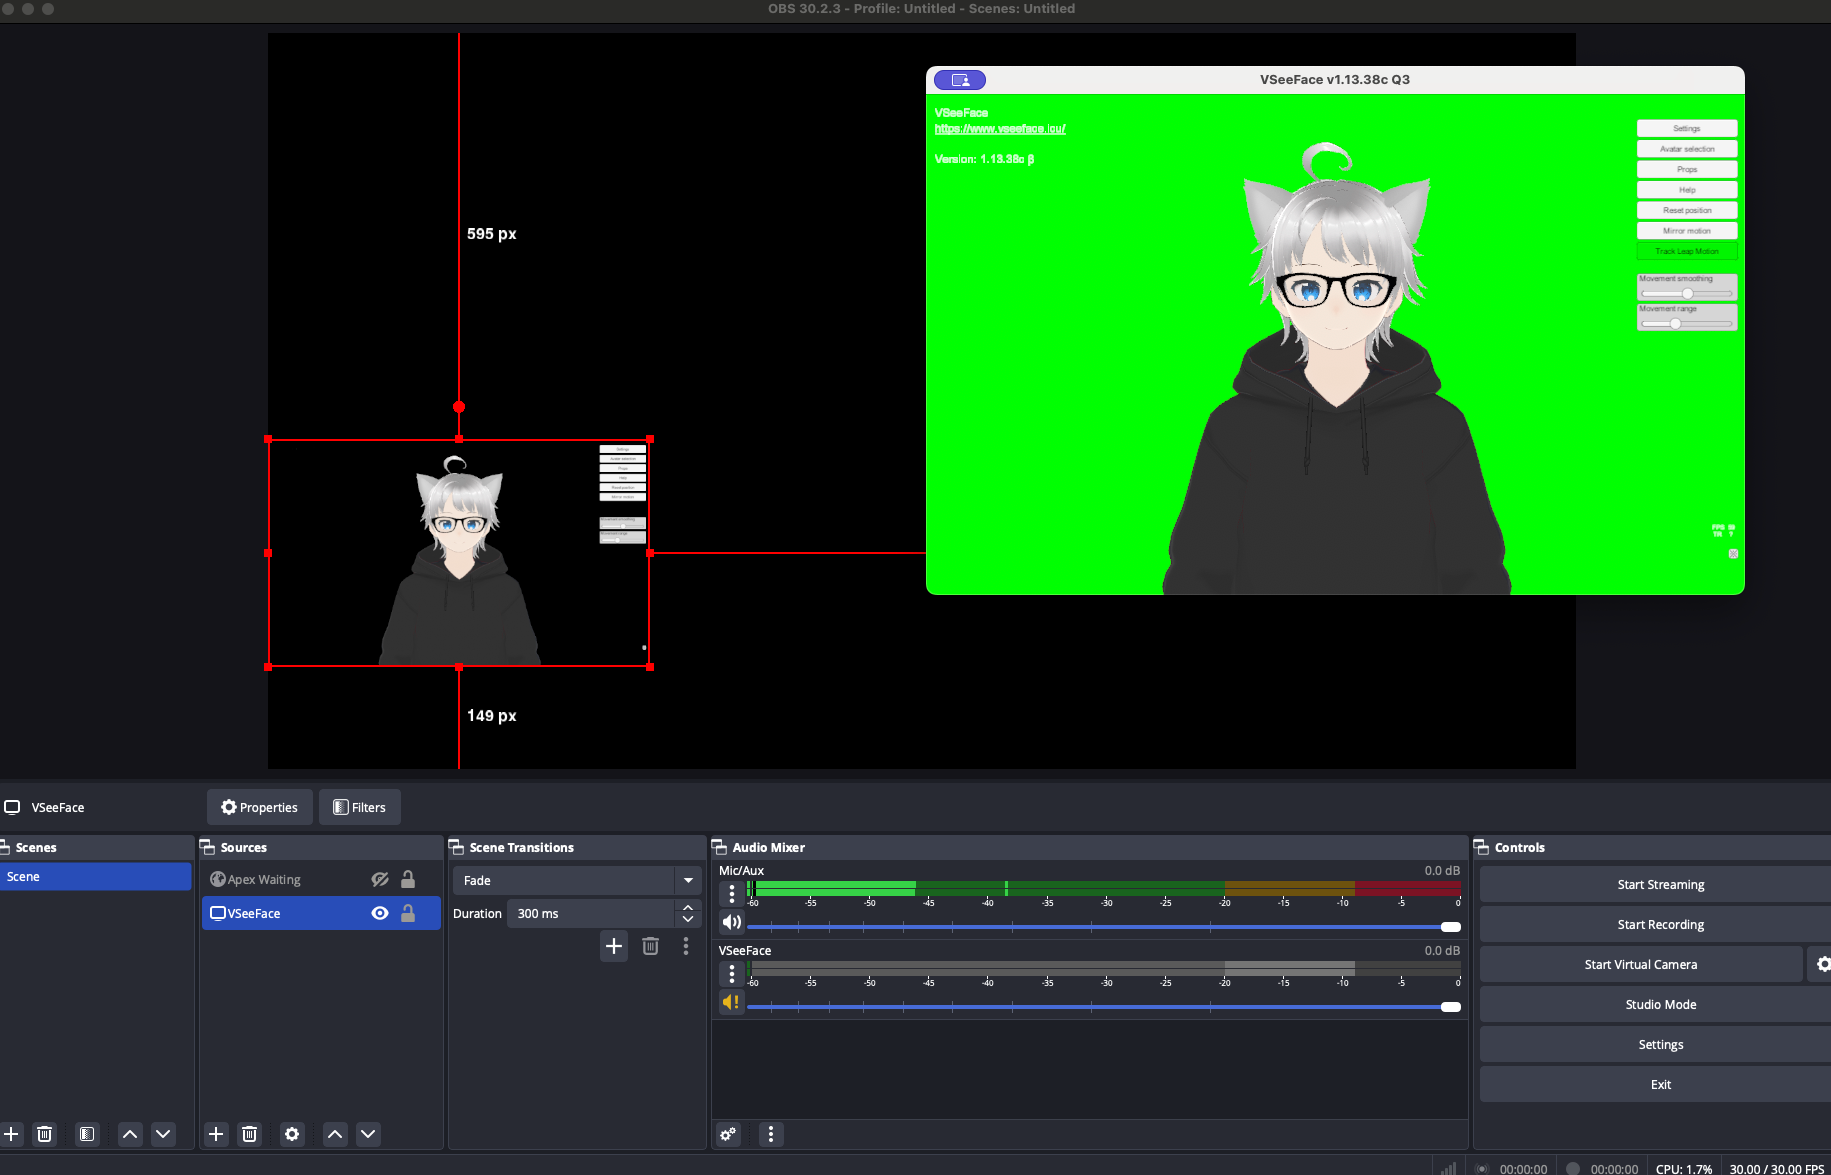
How to run VSeeFace on macOS
VseeFace
VseeFace is a fantastic, Unity-based vtubing app made originally for Windows. It is designed for animating 3D avatars imported in the VRM format, using face tracking data streamed using different protocols. It has a lot of other bonus features that make it stand out, like props, filters, smart expression toggles and more. However, like most vtubing apps, it is officially available for Windows only. Linux support is quite hacky as well, and macOS? My previous attempts using a compatibility layer like Wine and apps like PlayOnMac were unsuccessful...until now!
Setting up Whisky
Whisky is a native macOS app that makes managing apps running using CrossOver a breeze. You create virtual containers creatively dubbed "bottles". Then, you use one of the many utilities the app has, like installing specific libraries and fonts you need for certain Windows apps to properly function.
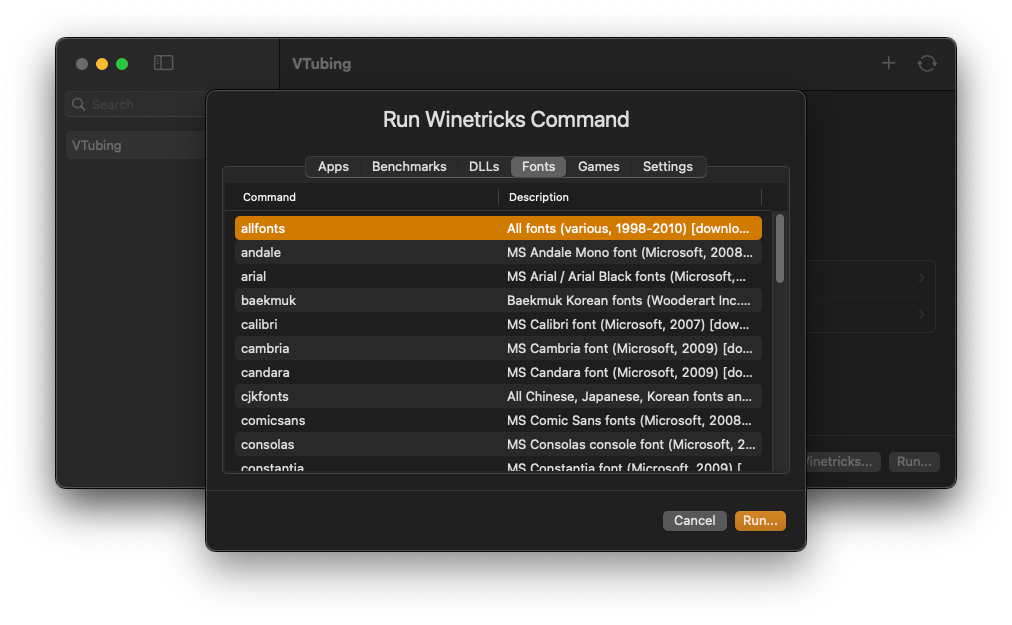
In the case of VSeeFace, we don't need much - a vanilla Windows 10 setup will "just work", however if you want to actually see labels on buttons, you need to also install all of the Windows fonts using `allthefonts`.
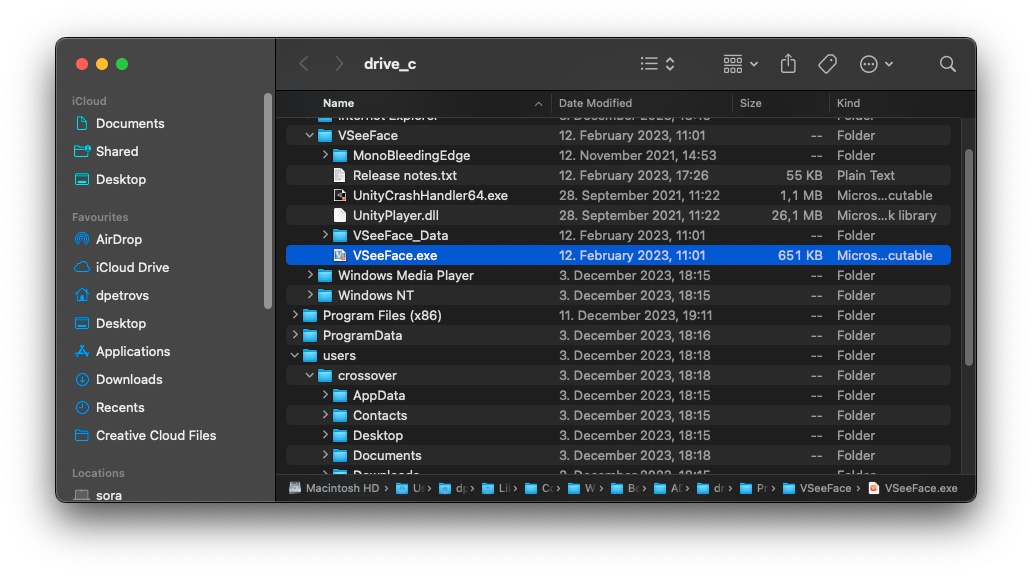
I also recommend keeping VseeFace inside of the bottle's virtual C: drive for convenience, and so that you don't accidentally delete the files on your mac.
Using together with OBS
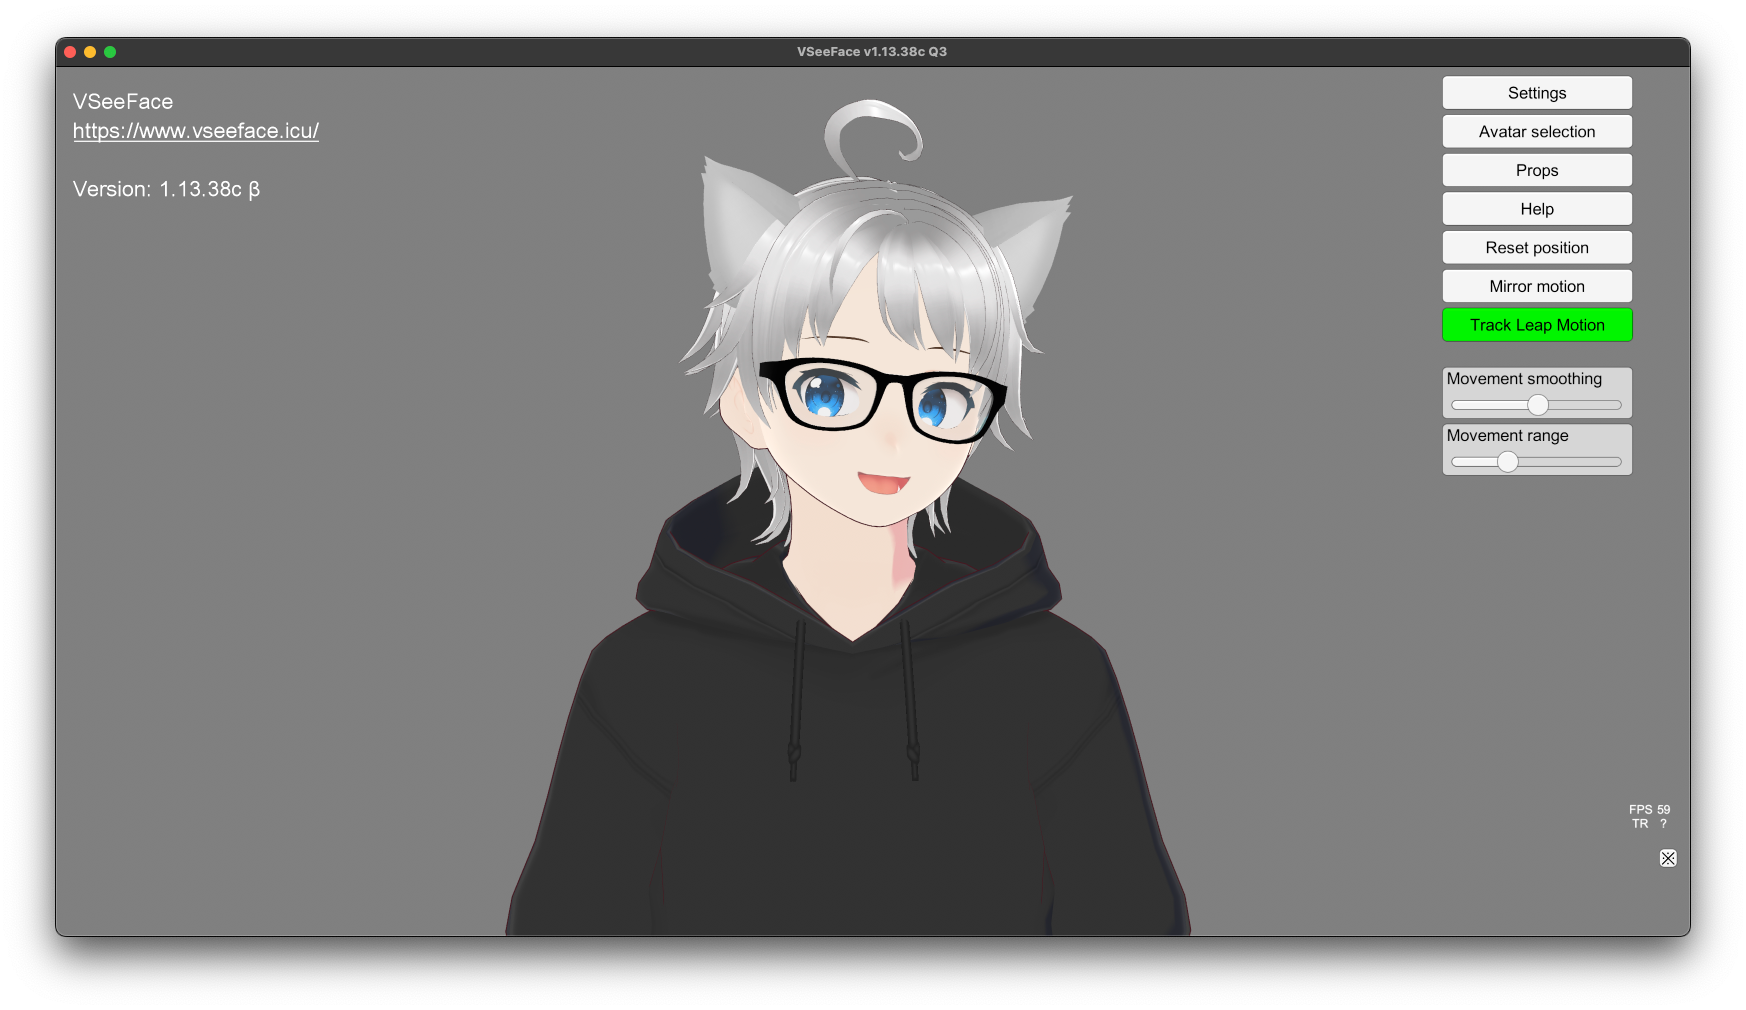
Unfortunately, you will not be able to use efficient graphics sharing protocols like Spout2 - it is OS specific, and macOS has its own native pixel sharing protocol called Syphon. Things like virtual camera will also be bound to the bottle, and won't be exposed to macOS. However, streaming VMC data into VSeeFace works just fine, since it just binds to the host's network stack. For now, the easiest way to import your avatar into OBS is to just use window capture, and then crop + key out the background.
That's it
Now VseeFace is set up! If you tried this little guide, let me know!
Bonus: easily add VseeFace in OBS
Sadly since VSeeFace is running in Whisky, we don't have access to native pixel sharing like Spout, so we have to use good old Application source in OBS. The problem is the default VSeeFace background is grey, and not perfect for chromakey. Luckily VSeeFace exposes a launch argument to set the background color to something like bright green:
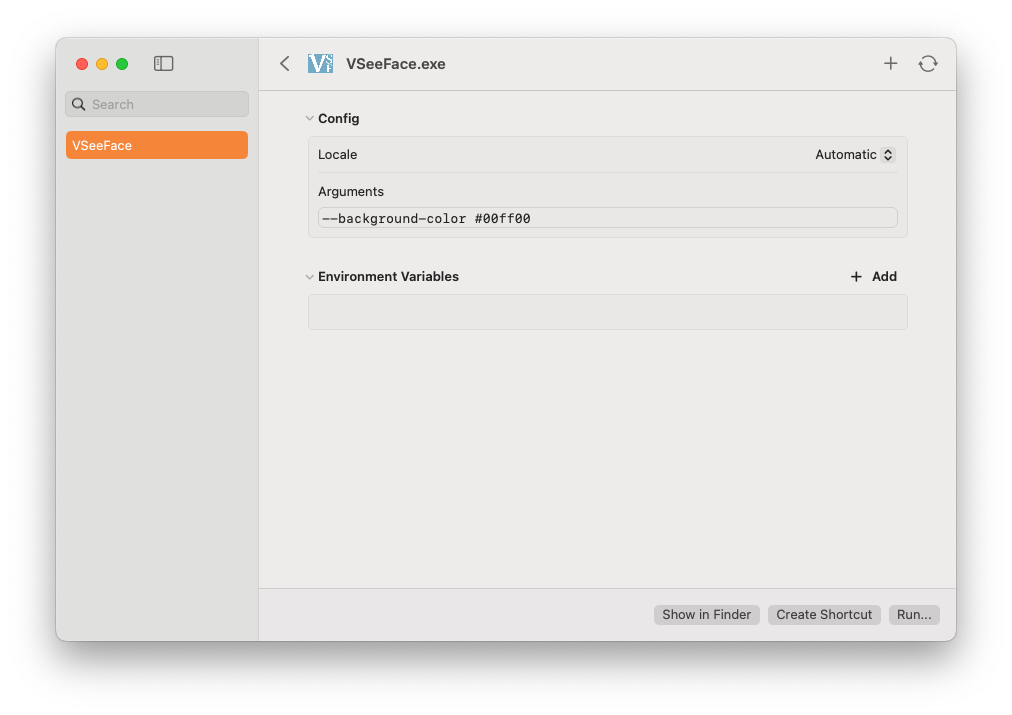
Then just add a new source and apply a chroma key filter, and you are done!
